How to Set Up a Montessori Kitchen Helper Station
My kitchen is the busiest room in the house and, for years, the one place my toddlers were least allowed to be useful.
That changed when I stopped trying to keep them out and gave them a station instead. Here’s how to set one up so it actually reduces chaos rather than adding to it.
What You’ll Need
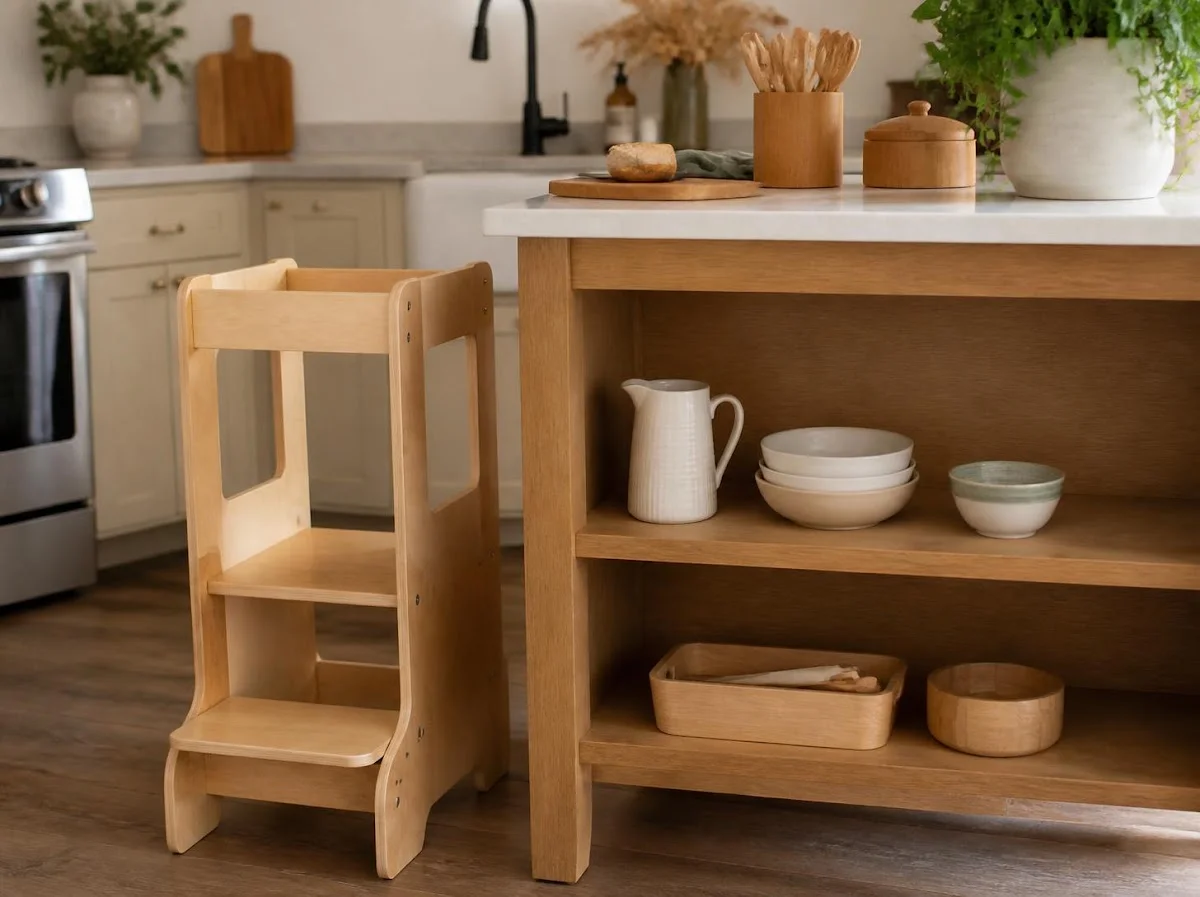
- A learning tower, or a sturdy step stool with a wide base
- One low drawer or shelf they can reach
- Child-sized: pitcher, bowl, plate, cup, crinkle cutter
- A small cloth for spills
- Optional: low hook for an apron
Total cost is roughly $60–150 depending on whether you buy a tower or repurpose a stool.
Step 1: Decide Where They’ll Stand
Pick one spot at counter height, away from the stove and out of the main walking path.
🛒 Shop: Wooden Step Stool (Wide Base)
🛒 Shop: Montessori Learning Tower
A learning tower with rails is safer than a stool because a toddler can’t step backward off it. If you’re using a stool, choose one with a wide base and no wobble.
Set this up before you buy anything else — the spot determines what fits.
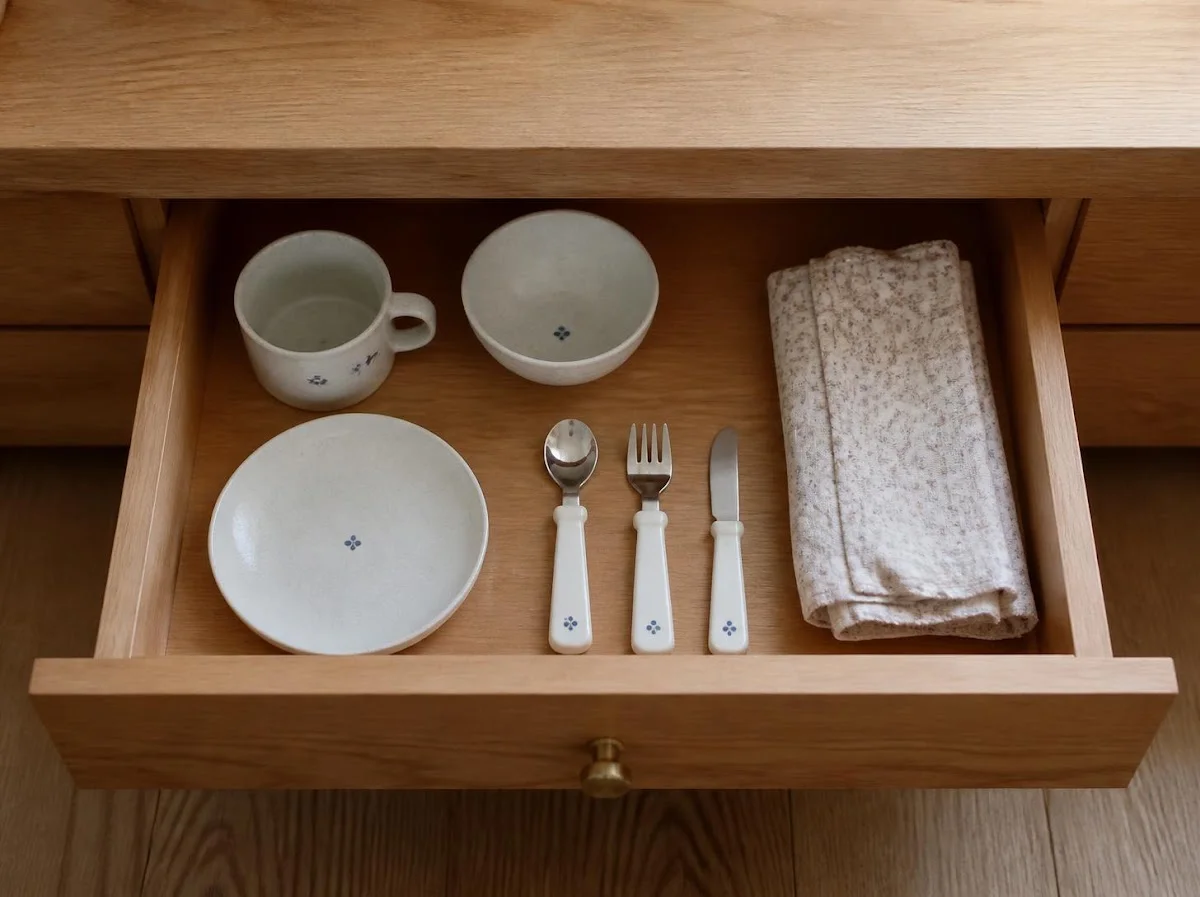
Step 2: Give Them One Reachable Drawer
This is what makes the station work rather than just be a place to stand.
Clear one low drawer or the bottom of one cupboard. Inside: their plate, cup, bowl, cutlery, and cloth. Nothing sharp, nothing breakable that matters.
Now they can set the table, get their own water, and clear their dish without asking.
Step 3: Size the Tools Down
Adult tools are the reason kids fail at kitchen tasks. A full pitcher is too heavy; a chef’s knife is unusable.
🛒 Shop: Crinkle Cutter (Child-Safe)
🛒 Shop: Child-Size Wooden Bowl and Plate Set
Small glass pitcher, small ceramic bowl, real cup rather than sippy. Real materials matter here — a glass that can break teaches care in a way plastic doesn’t.
For cutting: a crinkle cutter or butter knife, never a paring knife.

Step 4: Start With One Task, Not a Whole Job
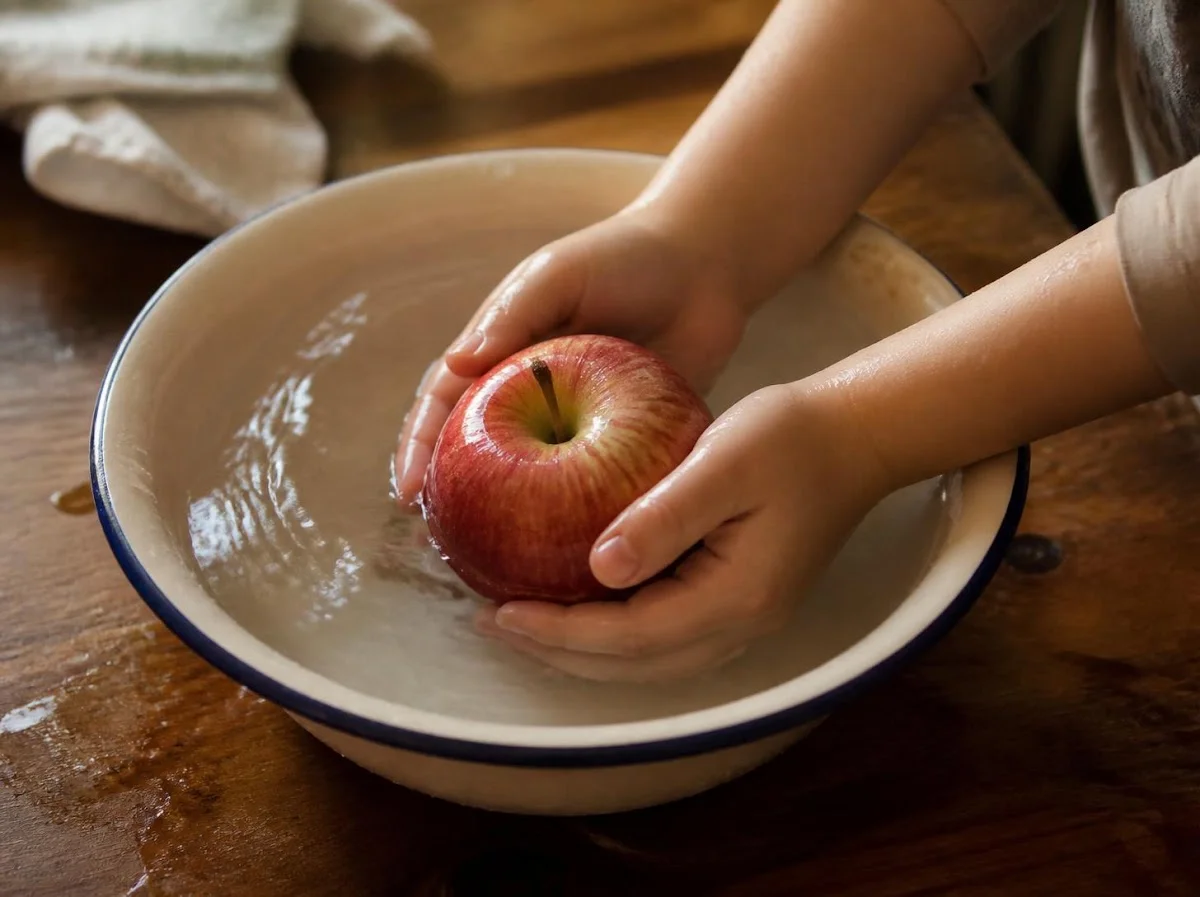
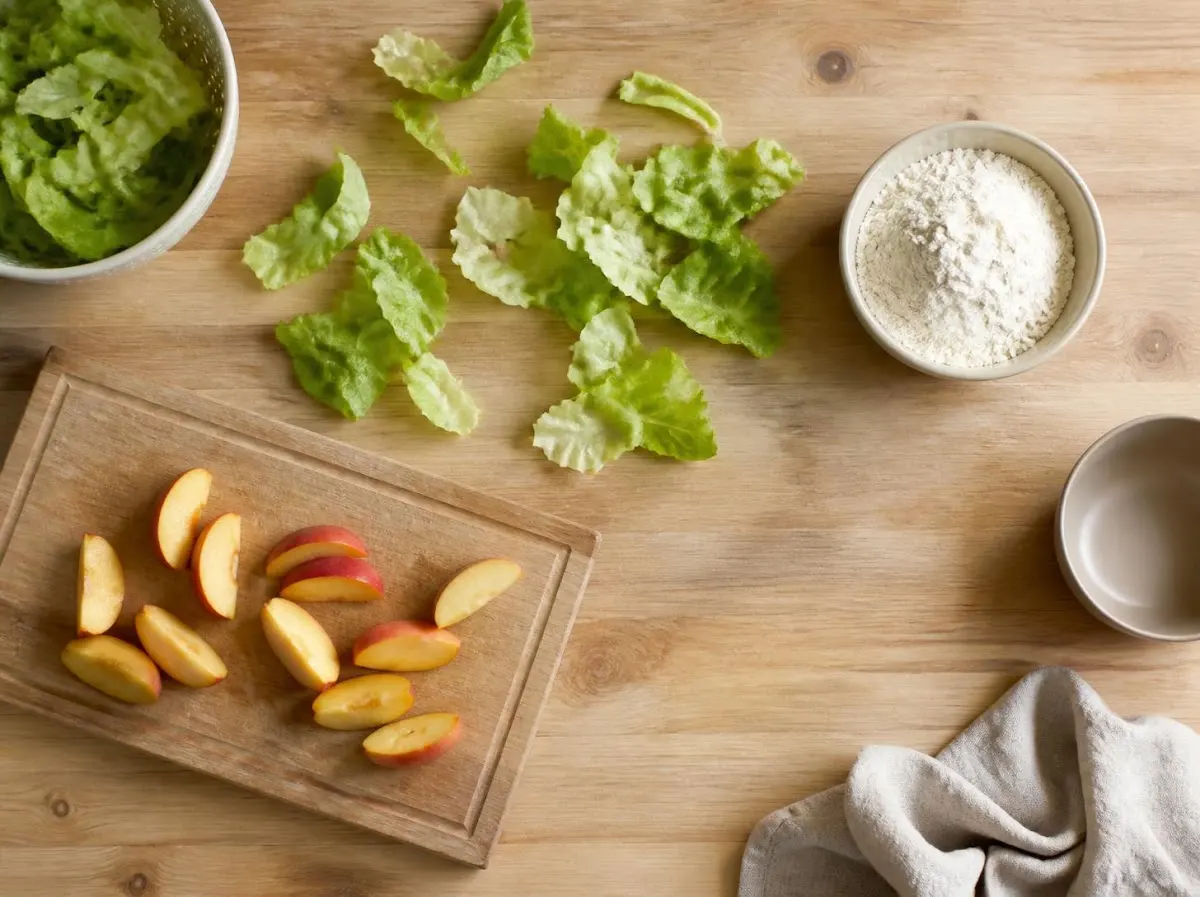
Pick something with a clear beginning and end. Washing one apple. Tearing lettuce. Stirring a bowl that’s already been measured.
Do it alongside them a few times without narrating every step. Then step back.
Step 5: Match Tasks to Age
18 months–2 years: washing produce, tearing herbs, stirring, carrying their plate to the table.
🛒 Shop: Child-Safe Vegetable Peeler
2–3 years: pouring from a small pitcher, spreading with a butter knife, cutting soft fruit, scooping dry ingredients.
3–4 years: cracking eggs, peeling with a child peeler, measuring, kneading dough, setting the full table.
4+: using a real (small, sharp) knife with supervision, following a two-step recipe, washing dishes.
Step 6: Build In the Cleanup
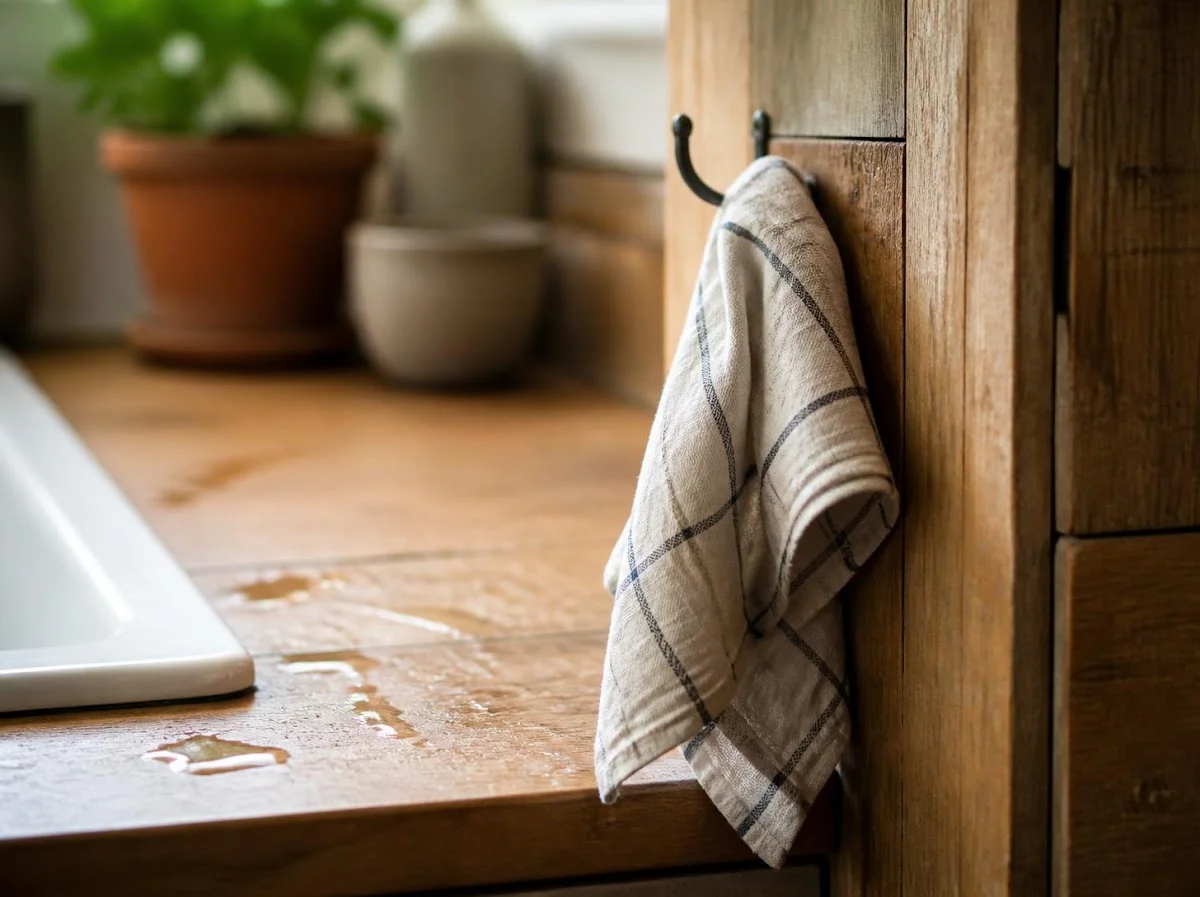
The cloth lives at the station, not with you. A spill isn’t an interruption — it’s the next step of the activity.
This is the part that determines whether the station survives. If you clean up after them, the task never actually finishes for them.
Step 7: Accept That It’s Slower
A three-year-old pouring water takes ninety seconds and produces a puddle. You could have done it in four seconds.
Do it on the days you have ninety seconds. Skip it on the days you don’t. Consistency over months matters more than every single meal.
Safety Rules Worth Being Rigid About
- Station never goes next to the stove or a hot appliance
- Knives and cleaning chemicals stay in a high, latched cupboard
- They stand on the tower only when you’re in the room
- Nothing plugged in within reach of the station
Final Thoughts
The point of a kitchen station isn’t a child who cooks dinner. It’s a child who knows they belong in the room where the family’s real work happens.
Start with a stool and one drawer. Add the rest as it makes sense.
Save this for the weekend you have an hour. 🦢