How to Set Up a Montessori Floor Bed (Step by Step)
A floor bed looks simple. A mattress, on the floor, done.
Then you actually set one up and realize you have questions. Is the room safe enough? What if they roll off? What if they just… get up and wander at 2am?
I’ve set up four floor beds now, and the process gets easier each time. Here’s exactly how I do it.
What You’ll Need
- A firm mattress (4–6 inches thick)
- Waterproof mattress protector
- Fitted sheet in a natural fabric
- Furniture anchors for every piece in the room
- Outlet covers
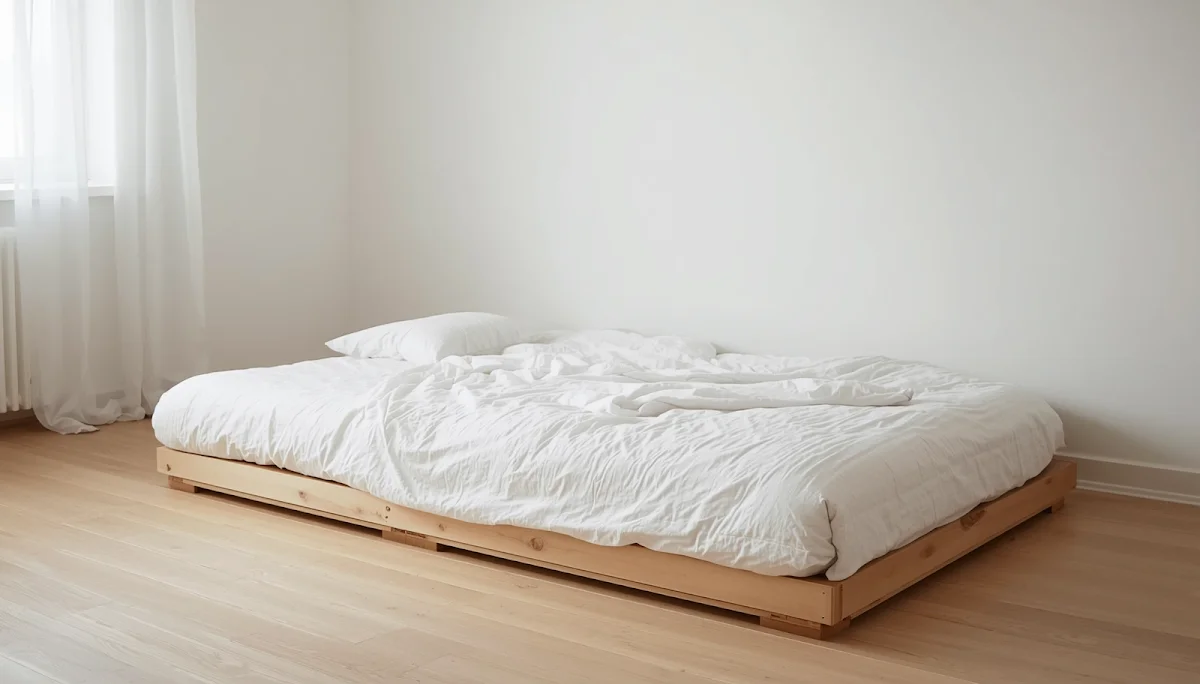
- Optional: a low bed frame, canopy, or wall-mounted rail
Total cost if you start from scratch: roughly $100–250 depending on mattress choice.
Step 1: Childproof the Entire Room First
This is the step people skip, and it’s the most important one.
Once your child can leave their bed independently, the whole room becomes their sleep space. Not just the mattress. Get on your hands and knees and look at the room from their height.
Anchor every dresser, shelf, and bookcase to the wall. Cover outlets. Remove cords, small objects, and anything heavy that could be pulled down. Check window blind cords especially — those are a real hazard.
Do this before the mattress goes down, not after.
Step 2: Choose the Right Spot
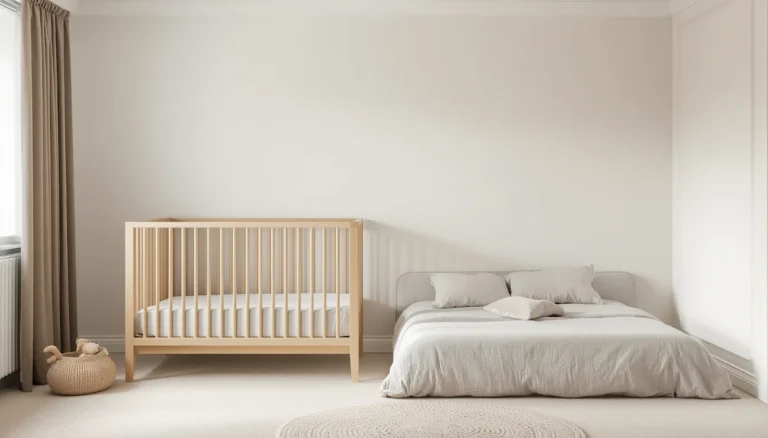
Put the mattress in a corner. Two walls give your child a natural sense of enclosure, which helps them settle.
Keep it away from windows, radiators, and doors. In a small room, the corner furthest from the door usually works best — it’s the quietest spot and leaves the rest of the floor open for play.
Step 3: Set Up the Mattress
Waterproof protector goes on first. Then the fitted sheet. That’s it.
🛒 Shop: Firm Floor Bed Mattress
Skip the pillow and blanket for children under 12 months. For toddlers, a small flat pillow and a lightweight blanket are fine.
If you’re worried about rolling off, place a rolled towel or a soft rug alongside the mattress. Most falls from a floor bed are a few inches and wake the child rather than hurt them.
Step 4: Add One Soft Boundary
Not a rail exactly. Something that signals “this is your sleep spot.”
A canopy hung above works well. So does a low headboard cushion, or simply the wall itself with a soft wall hanging. The point is visual definition, not physical containment.
Step 5: Introduce It During the Day
Don’t make the first experience of the floor bed a bedtime.
Spend a few days reading books on it, doing quiet play nearby, taking naps there. Let it become a familiar, comfortable place before you ask them to sleep there overnight.
Step 6: Prepare for the First Week
Here’s what actually happens: your toddler gets up. Repeatedly. Possibly many times the first night.
This is normal and it passes. Walk them back calmly, without conversation or eye contact. Put them back on the mattress. Leave. Repeat as many times as needed.
Most children settle into the new setup within 3–7 nights. A few take two weeks. Consistency matters more than anything else in this window.
Common Mistakes to Avoid
- Skipping childproofing. The single most common regret.
- Starting during another transition. Don’t do a floor bed the same week as potty training or a new sibling.
- Giving up on night three. Night three is usually the hardest. Night five is usually better.
- Too much stuff in the room. A room full of toys is a room full of reasons not to sleep. Keep it minimal.
Final Thoughts
A floor bed isn’t just furniture. It’s a decision to trust your child with their own space, a little earlier than most parenting advice suggests.
It’s messy for a week. Then it’s one of the best things you’ll do for their independence.
Save this post and come back to it on night three. 🦢